Mushi is a project designed to generate unique, self-animating paintings with possibilities for user interaction and collaboration. Created in Processing, the program utilizes relatively simple procedural animation techniques in order to create a complex, self-designing artwork without being overly cumbersome.
Conceptually, mushi introduces the properties of time and change to the medium of painting, where (with the exception of some forms of performance art) the art object is seen as a static, unchanging image. In this case, not only is the artwork changing, it is altering outside of the influence of either the programmer or the viewer. In an autopoetic behavioral pattern, the moving objects of the program exist to constantly maintain and renew the resulting image. The work utilizes technology to the benefit of art, implementing the changing positions of objects on a screen as a way of revealing new images.
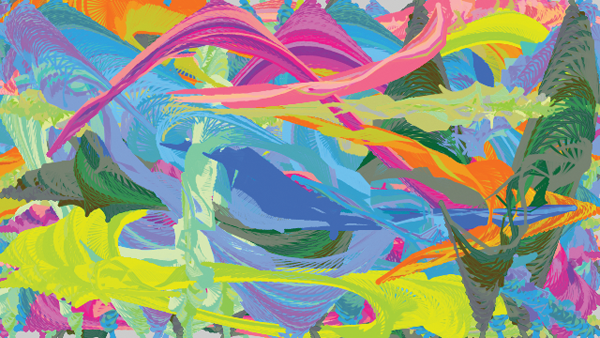
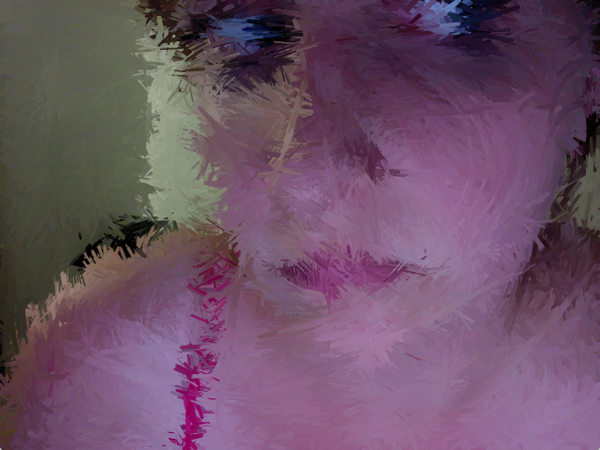
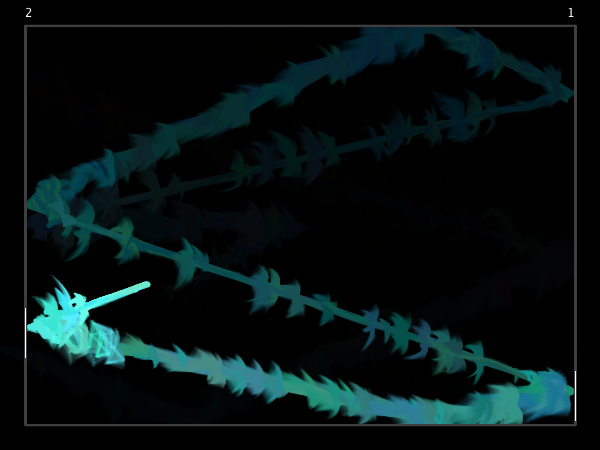
The earliest version of the brush is based on divided line segments, where each piece follows the one before it, creating a believable moving shape. In this case, I created an object (called a 'mushi,' based on its carefree, seemingly-alive movements), which is composed of a head and several trailing bristles, each of which is animated by a subtle sine curve in order to give a feeling of form. The bristles are similar but different in color, giving the object a feeling of having some texture and dimension, while still seeming internally consistent.
below: example of early brushes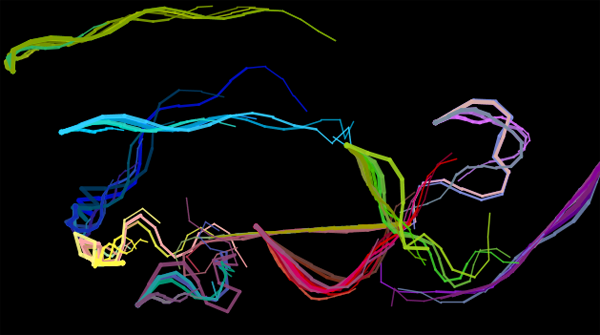
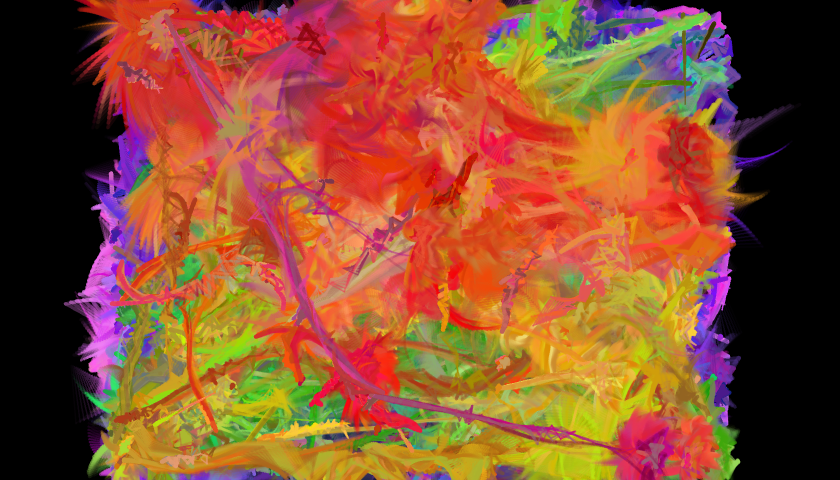
It is difficult to draw an animated image with a large amount of complexity because the computer has to redraw the entire image with every frame (roughly 30 to 60 times per second). Therefore, creating something like an animated painting with a program can be extremely difficult. One way around this is to allow the added complexity of several frames to build up over time. To do this, all that has to be done is stop drawing the background (a solid color drawn at the beginning of each frame). This way, as the objects are animated, they appear to be sliding across the screen leaving a solid color behind, like a brush stroke being slid across a canvas. The resulting complexity doesn't add any extra strain to the computer, and creates a seemingly complex and intricate animated scene.
below: a build-up of color and texture results when the background is not redrawn with each frame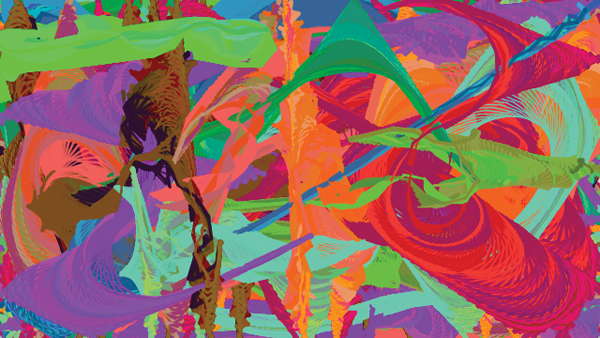
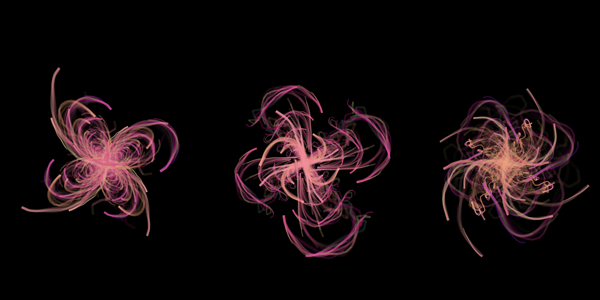
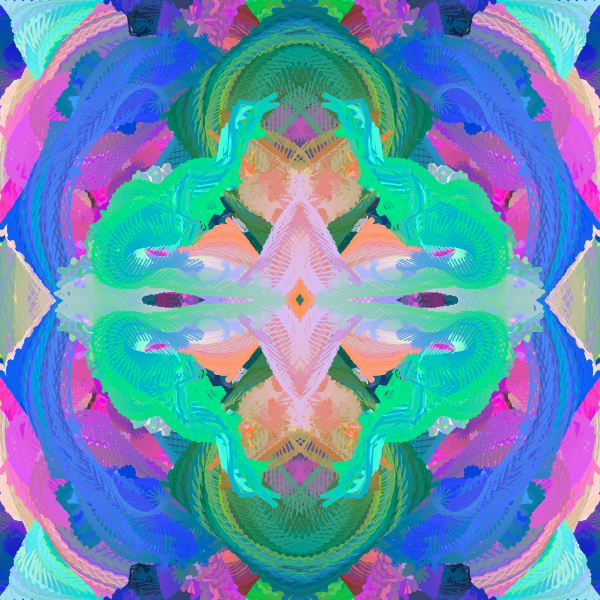
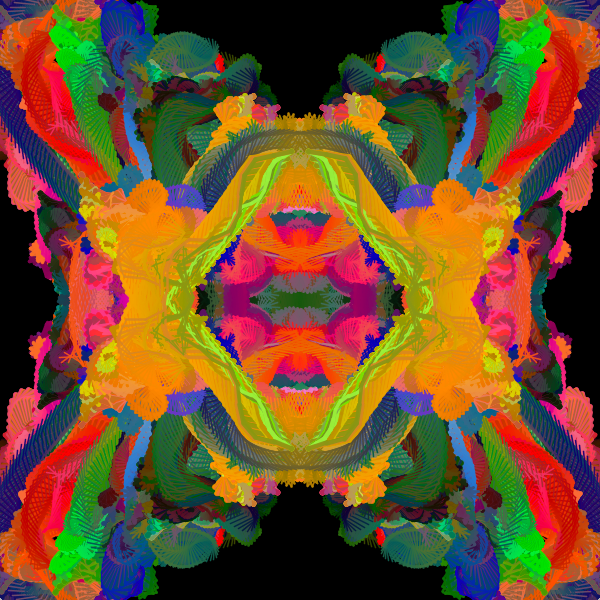
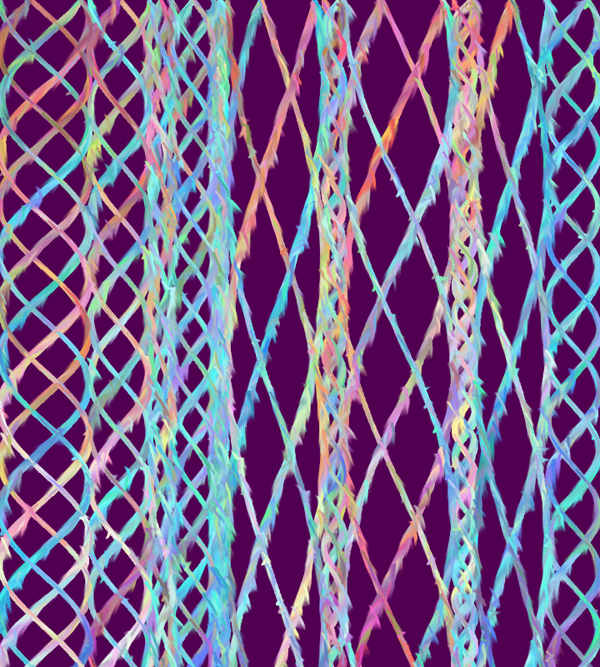
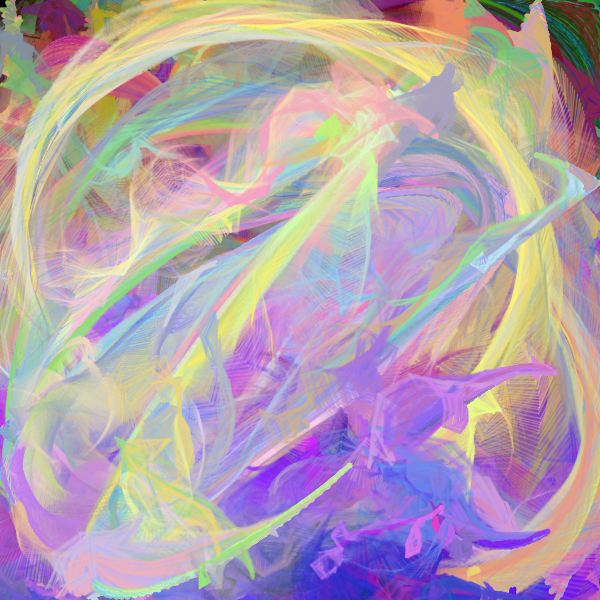
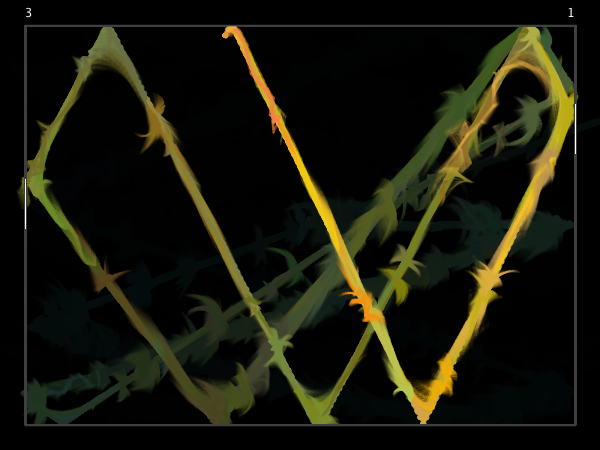
Once I had the basic system in place, I tried experimenting with other ways this tool can be used creatively and aesthetically. From a design standpoint, it seemed that a sense of symmetry would add focus to the piece, so I went about altering the work so that there would be a radial center. This was accomplished by having the brushes move only within the top-left quarter of the screen, and then copying that data (after flipping it horizontally or vertically as needed) to the other segments of the screen.
below: example of mirrored design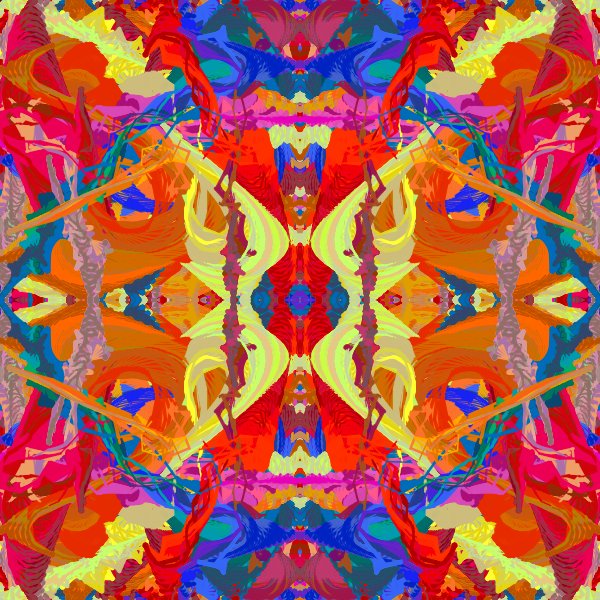
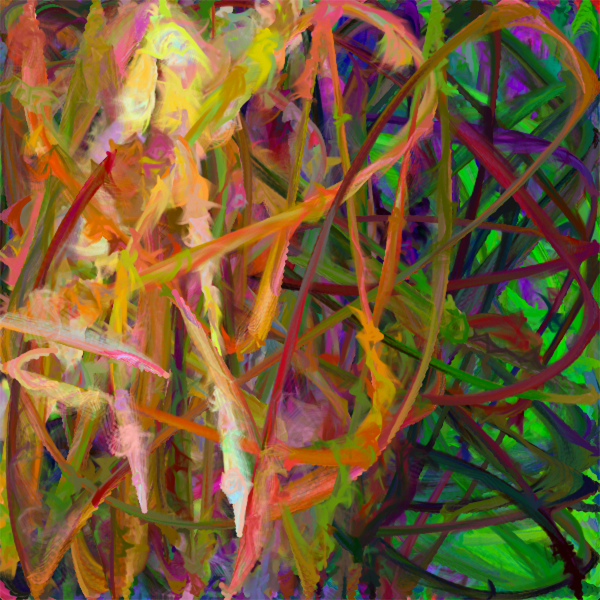
The next experiment was to incorporate video in the project; either by using prerecorded video files or live input from the webcam. In both cases, the segments of each brushstroke would determine what color they should be based on the color of the corresponding spot in the input video. The result being that as the brushes travel around the screen, they draw in what the video is showing at that time.
Notably, since the brushes do not draw everywhere at once, moving video is often hard to understand, since different frames are seemingly mixed together. However, if the image in the video remains still, the brushes will eventually fill in the entire screen and the result is a understandable, though slightly filtered, image.
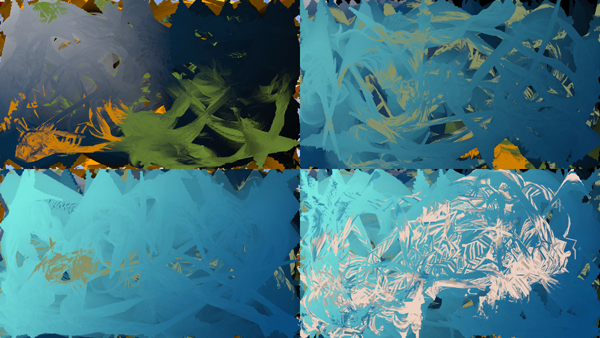
below: staying still while using webcam as basis for brush color
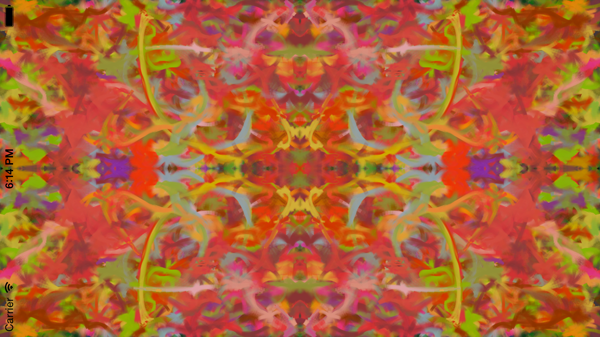
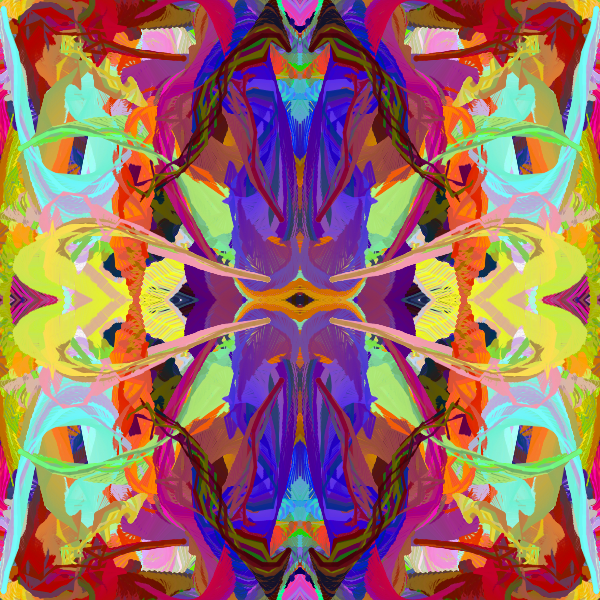
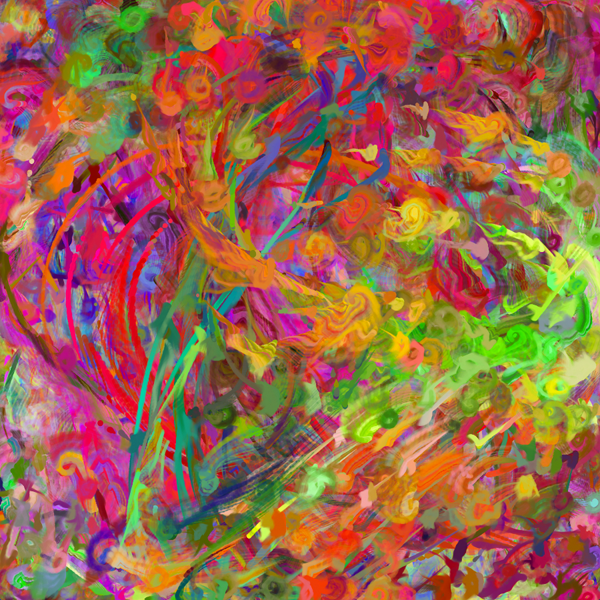
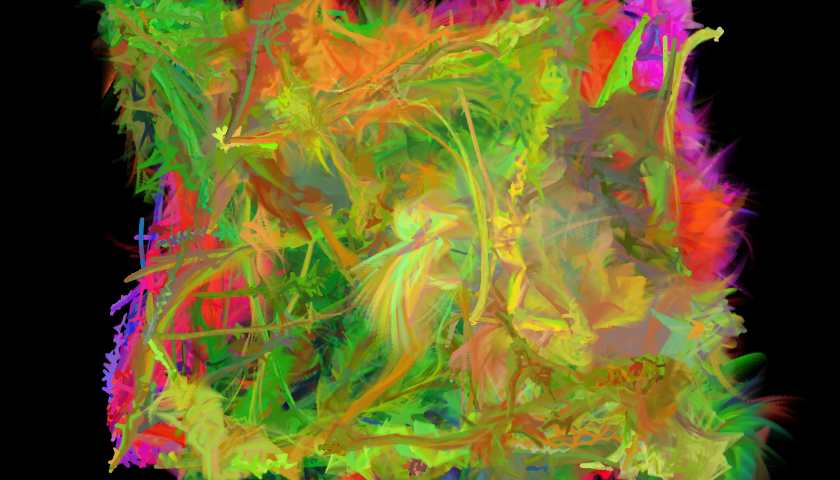
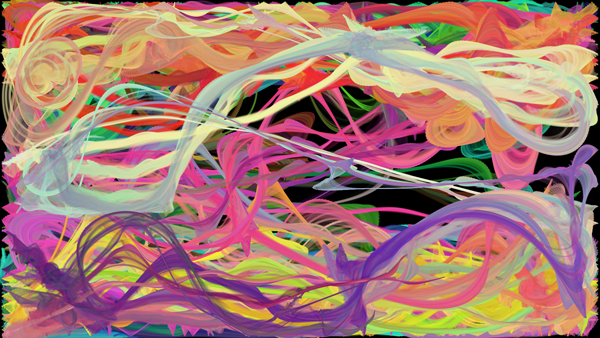
Reading and incorporating audio proved to be much more challenging than video, due to the extra coding necessary to get useful information out the data. Live sounds can be processed by talking in the raw data (the sound wave, which exists as a series of points) and then determining information about the wave, such as average amplitude and frequency. To best display the influence of sound in an aesthetically pleasing way, I returned to the symmetrical, randomized color design, but with a few important differences. While the colors were chosen at random, I had also added a color-add variable, which would change the colors of the brushes overtime. In addition, the color-add variable could quickly change the color of the brush in the event of a sudden change in sound frequency or amplitude. In addition to color, the brushes will also change speed, position, and shape (the angle at which the pieces of the bristles follow each other), in response to the sound input.
below: some of the diverse and colorful results created by mixing the brush code with sound input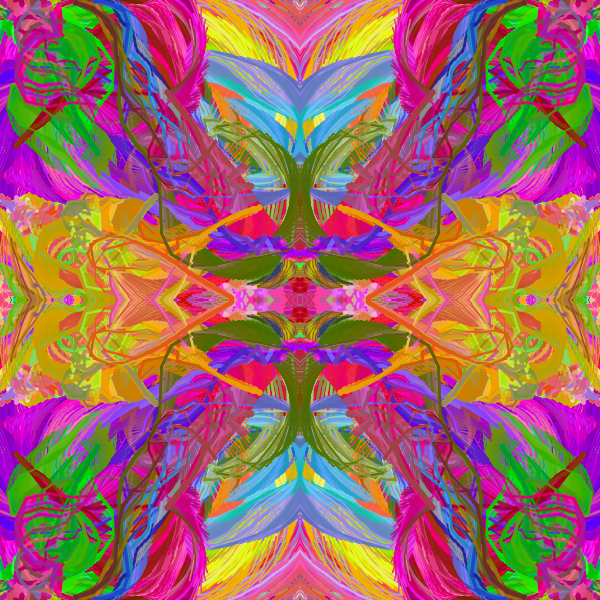
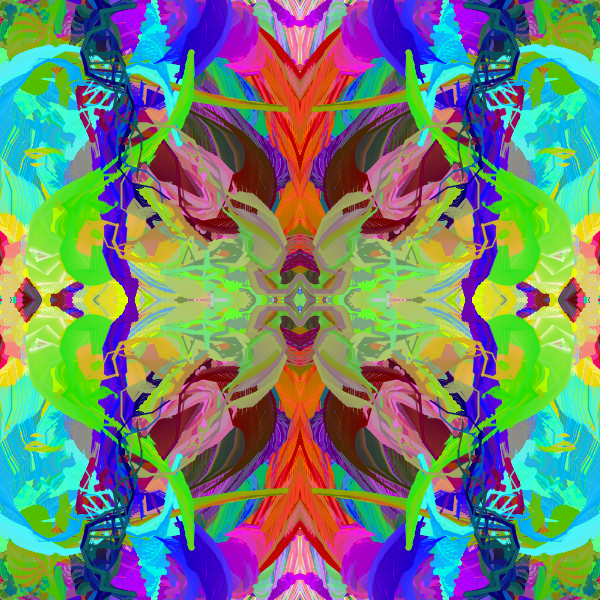
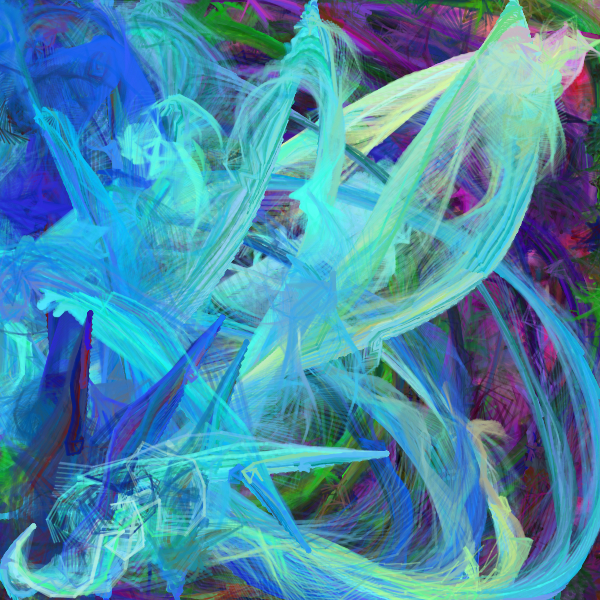
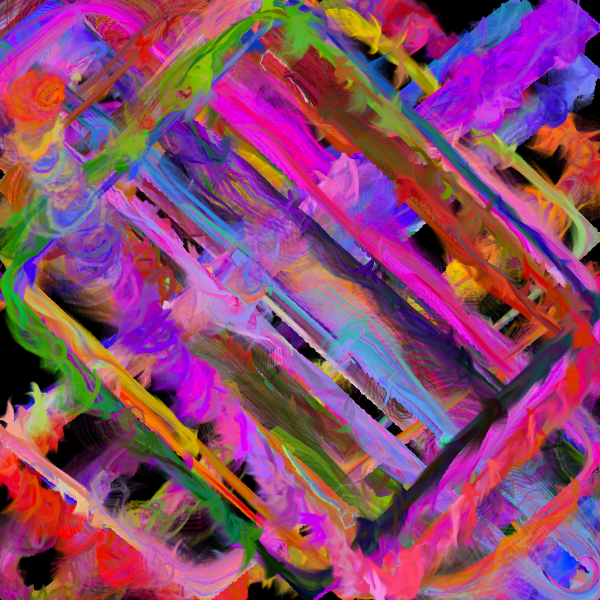
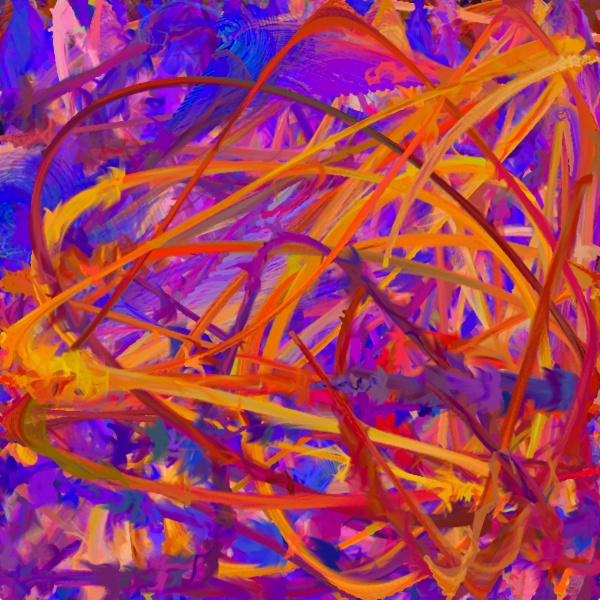
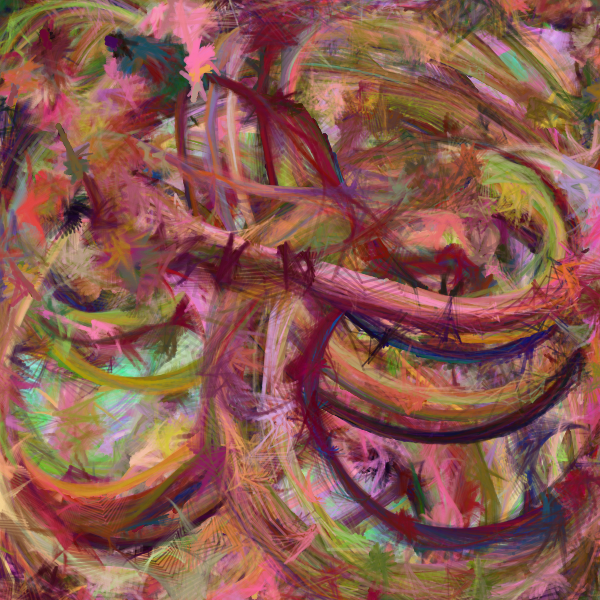
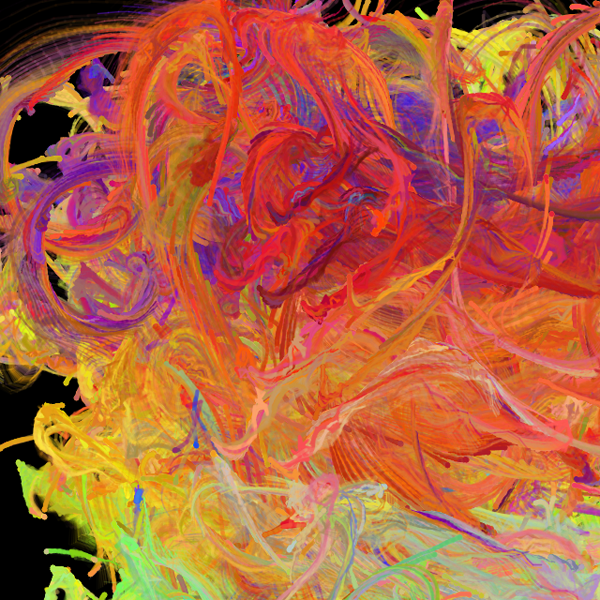
So far, the movement of the brushes has been based on a simple velocity and acceleration addition, where the acceleration will slowly change based on a sine curve. This results in slight deviation in the direction of the brushes, but for the most part they will travel in straight lines, with the only notable changes being in speed. As an alterative, I utilized Perlin noise (a type of gradient noise developed by Ken Perlin) to determine the position of the brushes. While this does result in some unique and interesting movements, using noise has the unfortunate effect of occasionally having the brushes clump together or remain stationary for a prolonged period.
Notably, this example does not use the system of drawing only in the upper-left quarter and then copying to the other quarters. Instead, each brush is drawn 4 times after using the translate and rotate tools to change the position of where the brush is being drawn. This allows all of the brushes to travel to all parts of the screen while still maintaining the symmetrical appearance of the earlier versions.
In Processing, it is easy to get input from the mouse or keyboard to create a direct user interface with the program. In this experiment, the position of the cursor directly controls the position of one of the four brushes, with the other three following that one's position, but with a timed delay, a color delay, and flipped (horizontally, vertically, or horizontally-vertically) to keep the symmetrical setup.
below: sketches created utilizing user input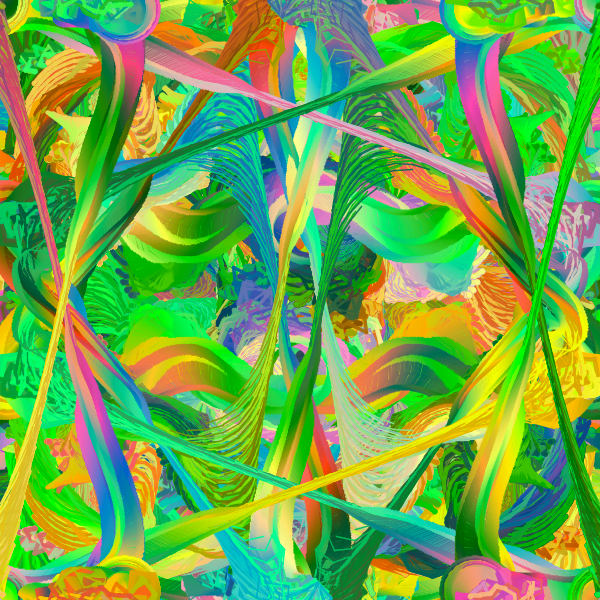

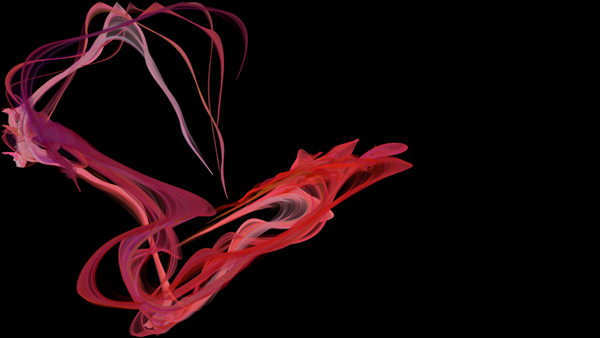
While I had been able to do something interesting things with the brushes, I felt that, as it was, the program was not producing the desired textured, layered effect that would be necessary to mimic actual paint. So, I decided to alter how the brushes worked from solid strands to a particle system. Previously, each brush had 7-14 bristles, which were essential in given the moving brushes their flowing, layered effect. However, because these bristles were solid colors and a constant length and width, they gave the finished image a hard, computer-generated appearance.
Instead, with a particle system, the bristles would be born (short, and solid colored), grow (become longer, seemingly growing out of the origin point, and becoming less opaque), and die (become so transparent they are invisible, and be recycled as a new bristle). The result is a more fuzzy and blended appearance, which can be used to mimic actual paint or fabric thread.
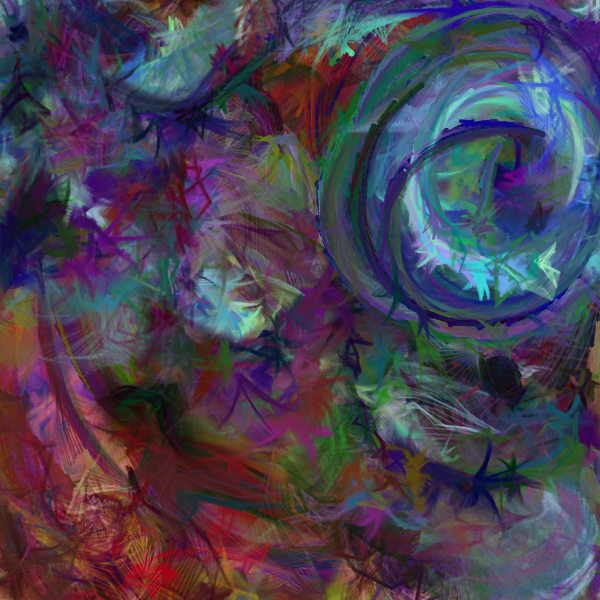
After completing the new brush texture, I began working on a different way to control the movement of the brushes, in contrast to simple directional movement or Perlin noise. As a solution, I used the spring-bob system, where each brush would be linked to the previous brush, causing it to follow and circle around the target. This causes all the brushes to move together, but not in a way that a human observer could obviously predict. In addition, to add a layer of consistency, the starting colors of all the brushes are made to be similar (previously each brush was a randomized color), which helps gives the work a sense of cohesion and results in a more realistic blending of color.
below: still shots from self-drawing painting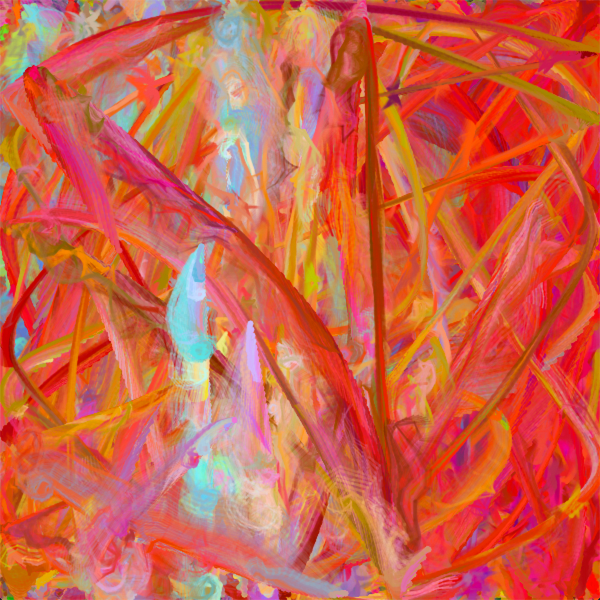
Because of the similarity between the particle system-based texture and woolen thread, I conducted a few experiments to see if the brushes would be a useful way to create textured fabric or cloth. While the resulting patterns are interesting, it would be difficult to deform or bend the fabric and almost impossible to animate it.
below: tests of fabric weaves created with brushes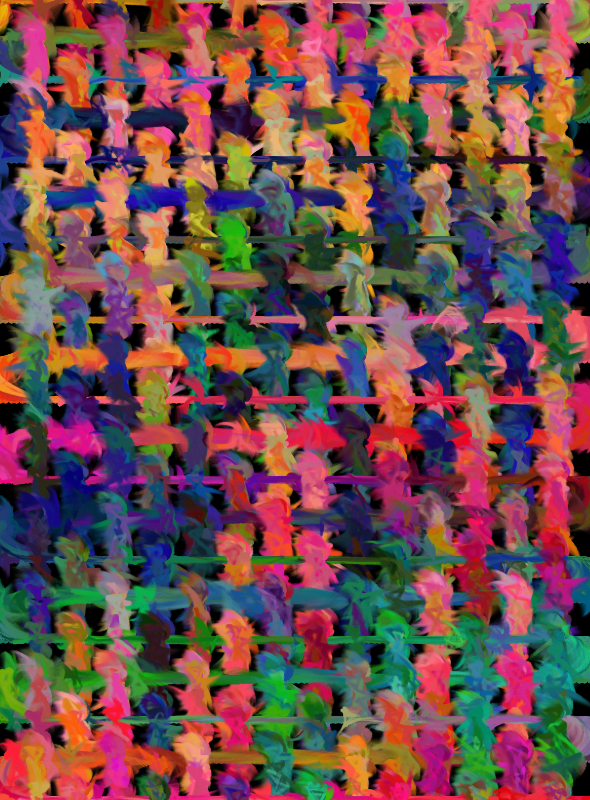
By combining the cursor-following attributes as described in "Direct User Interface" and the spring-bob animation of "Self-Drawing Painting", I was able to create a piece in which a litany of brushes all follow the cursor with varying degrees of speed and efficiency. While there were some interesting visual results, the interaction seems too confined and direct to engage the user for an extended period of time.
below: examples of spring-bob follow technique with user input
In this version, an interface was created for the user to have real-time input on several of the brush's attributes, including length of the bristles, color balance, brush proximity, sound influence, and rotation. However, the way in which the input will affect the output is not immediately obvious to the viewer, and requires active user participation and experimentation.
The ability to change attributes of the program in real time has enabled me to experiment with different brush configurations, producing some interesting results that would be unlikely or impossible to occur using the completely randomized versions of the program.
Using the openkinect library for Processing, it is possible to import the joint data from a kinect in real time. With this information, I attached a brush to each of the joints the kinect is tracking, and then drew the results on the screen. In the future, I will be looking into more ways to utilize this technology to allow viewers or performers to interact with this system.
below: brush strokes lock onto the position of kinect joints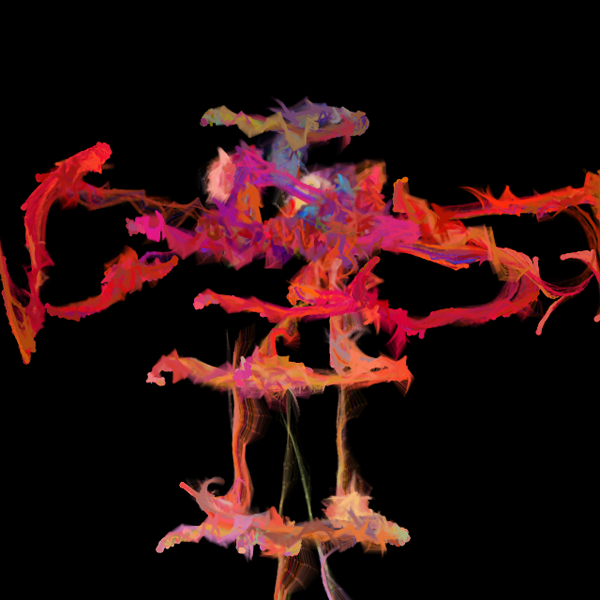
below: result after several minutes of movement by the kinect user
As an update, I have been looking into other means of making the brushes interactive. For one project, I used a blob tracker as the basis for the brush strokes' movement. This allowed the canvas to react to a user's motion without having to directly lock onto the user's joints. The result is move abstract than the kinect, but is more user friendly since the user doesn't have to stand in a 'T' position to be recognized by the program.
In addition, I incorporated the brush strokes into a pong game, which allows the interactivity of an actual gaming environment while still maintaining the aesthetic of the project.
below: pong game
I have also been looking to expand this piece to many other platforms, which often means recoding the entire work. Early on, I attempted to recreate the work as a Max MSP patch, but the current drawing system of Max automatically erases each frame after it is drawn, crippling my ability to build up textures. Unfortunately, I haven't spent enough time working in Max to determine a feasible work-around as of yet.
Fortunately, I found more success coding in OSX, and have created a simple screensaver based on the brush strokes. iOS was more of a challenge as, like Max, the animation is automatically set up to erase after every frame. However, I found a reasonable work-around by saving the drawn image at the end of every animation loop, and then redrawing that image onto the screen at the beginning of the next animation loop. This way, the visual result appears to have the same image being painted over, just as it appears in the original Processing program.
DOWNLOAD SCREENSAVER HERE
below: outputs from iOS app experiments